After each site visit (maintenance or new installation) please fill out this metadata survey. If any errors or issues appear please contact Rebecca Hochreutener
While in the field you can use this word document (English, French) as a paper support.
Station tickets
Station maintenance tickets can be viewed, commented on, and edited : here
Videos
Weather station installation mistakes to avoid
Ever spent hours carefully installing your weather station in the field and then come back only to discover you made mistakes that compromised the installation? Or worse, find out months later that you can’t be confident in the quality of your data. Our scientists have over 100 years of combined experience installing sensors in the field, and we’ve learned a lot about what to do and what not to do during an installation.
Location: Make sure the location you choose will give you answers to the questions that you want answered. If you’re looking for general weather monitoring, make sure the location is far (at least 3X the height of the tallest obstruction) from any obstructions to the wind. Make sure the vegetation is representative, and make sure the topographical location is representative. Rooftops are pretty bad generally, as are deep valleys or hilltops. If you’re looking for reference ET, you’ll want to deploy in the field with at least a few meters of the crop on all sides of the installation. Also, make sure that nothing is going to shade the solar radiation sensor.
Height: A lot of groups mount the ATMOS 41 at 2 m height because this is the norm for reference evapotranspiration. Others go higher for meteorological observations. Some even deploy in the canopy for specialized research questions. You can deploy easily at whatever height you want as long as you have the right mounting apparatus
Mounting apparatus: The ATMOS 41 is designed to mount on a vertical rod (see the user manual and quickstart guide for exact dimensions). It is often deployed on a vertical pole anchored by either guy wires or a good-quality tripod. Some even mount on T-posts, preferably with some guy wires to add stability.
Level: This is important for ATMOS 41. You need to have it level to within 2 degrees in both the X and Y. There’s a bubble level underneath the rain funnel that you can see from below and use to get level. The ATMOS 41 also outputs x and y level as standard outputs, so you can make sure you’re within 2 degrees of zero. You’ll need to use the guy wires to pull the mounting apparatus level or add some shims to achieve the proper level.
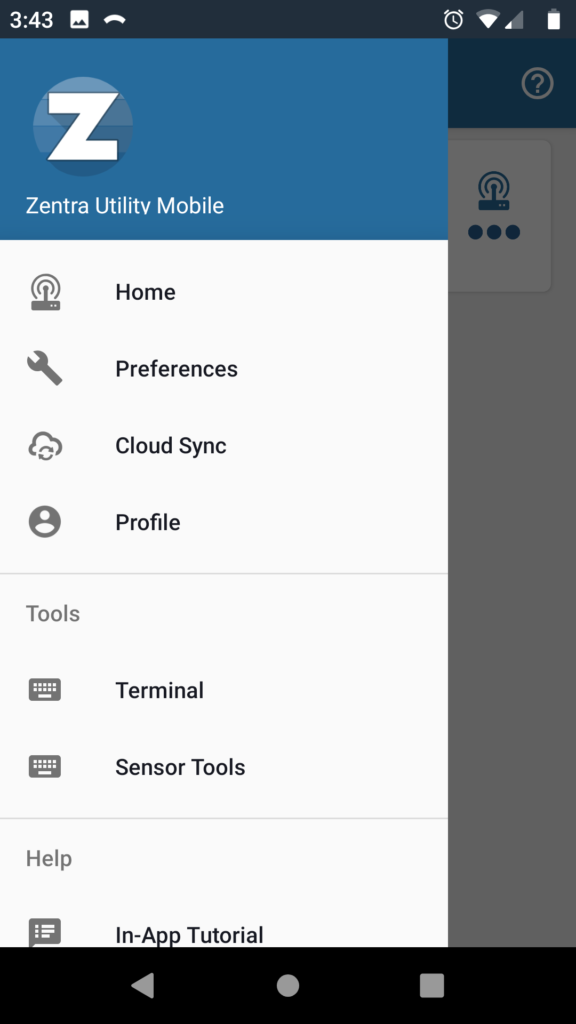
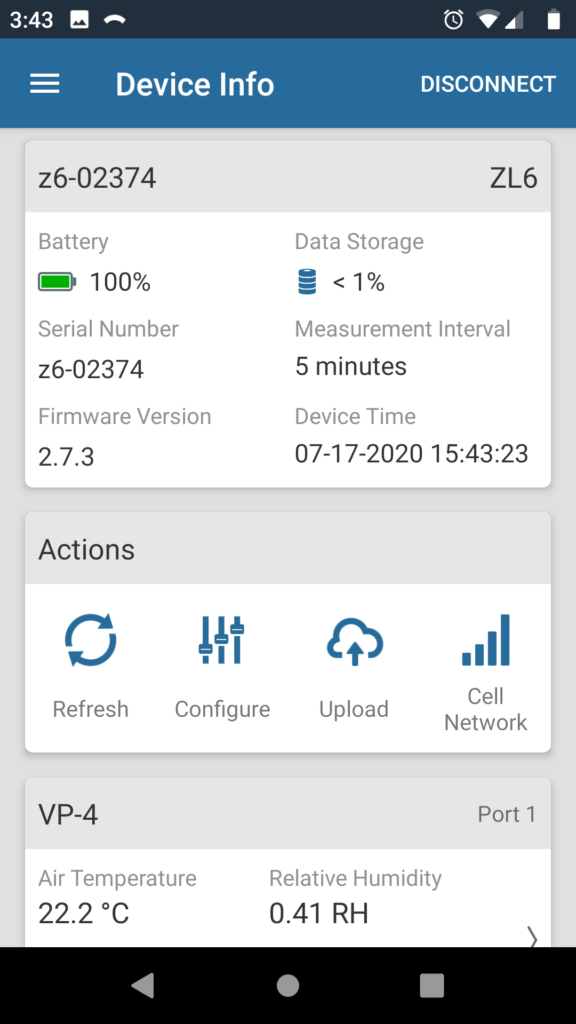
Check the data flow before you leave the field: Take a laptop (or handheld device if you’re using the ZL6 data logger) and the right software to make sure all the connections are good and that your data acquisition system is recording and/or transmitting data properly. A good best practice is to set it all up in the lab or office first, troubleshoot any issues, and then go to the field.
Always take a complete toolset: You never really know what you’re going to need when troubleshooting unique situations.
Tidy up the wires: The single biggest failure mode for environmental sensors is the wiring. Zip-tying extra wire to the mounting mast can keep it from getting snagged by animals or whipped around in windstorms and unplugged from the data logger. Protecting the wiring in a cage or other container is great if you have the ability to do so. Any of these things make the installation look more professional, which is an added bonus